

We love productivity apps. They make life so much easier and more convenient. A few days ago we downloaded one from iTunes called Wacom…
Year: 2011
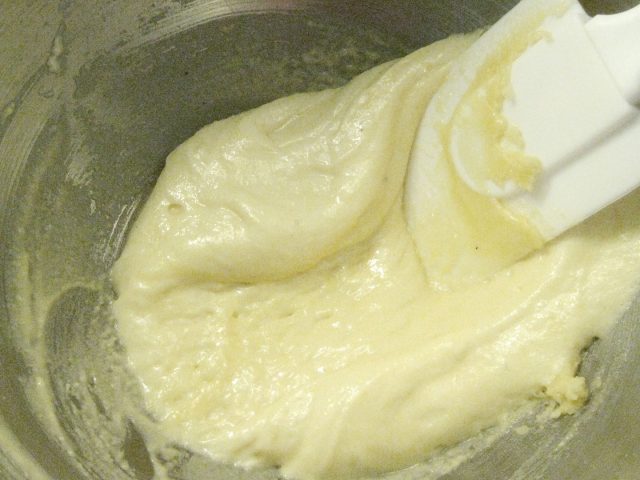
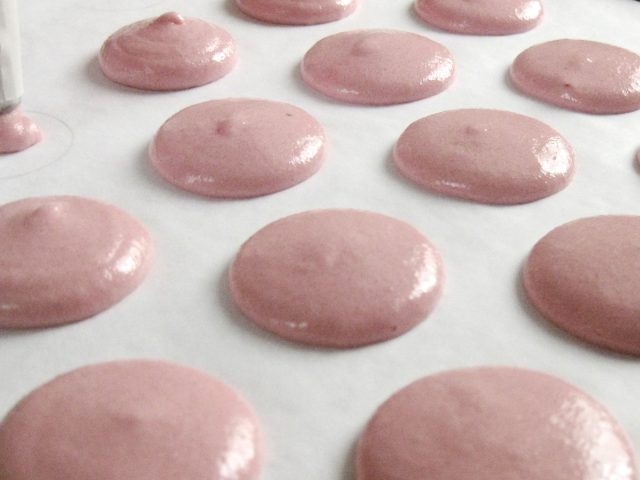
Macarons, Quest for Perfection – Technique, Macaronnage
We're back with our third installment to our Macarons, Quest for Perfection blog series: Technique, Macaronnage. Just in case we have some readers who…
Macarons, Quest for Perfection – Method, Environment and Equipment
If you recall, a few weeks back we posted a blog about our decision to churn out perfect macarons as our next challenge. Well,…

WiFi HotSpot On Demand
Many months back we were looking for a MiFi device (for those not familiar with such a device, it is a small wireless router…
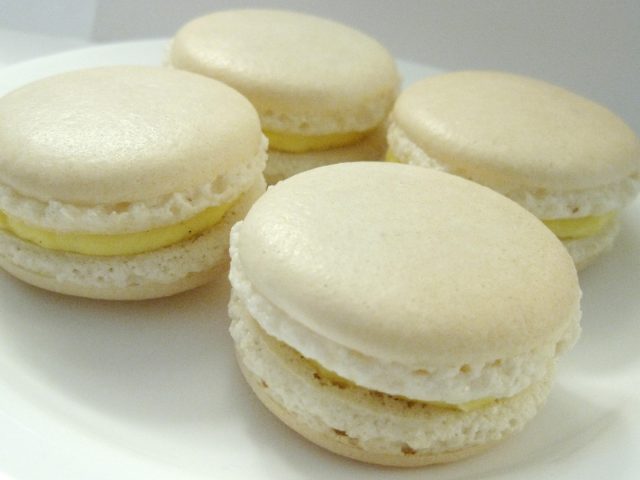
Macarons, Quest for Perfection
We've gotten onto the train of macaron making (several years late from the hype, we know!) and we decided that our next challenge is…

English Grammar: Which is it, I or me?
We were reading some stories online the other day and a line in there made us think, "It should be 'me' here, not 'I'",…
Simple Video Converter For Your Simple Video Converting Needs
Over the years, we've amassed quite a number of freeware video converters; and over the years, there is one that we kept installed on…
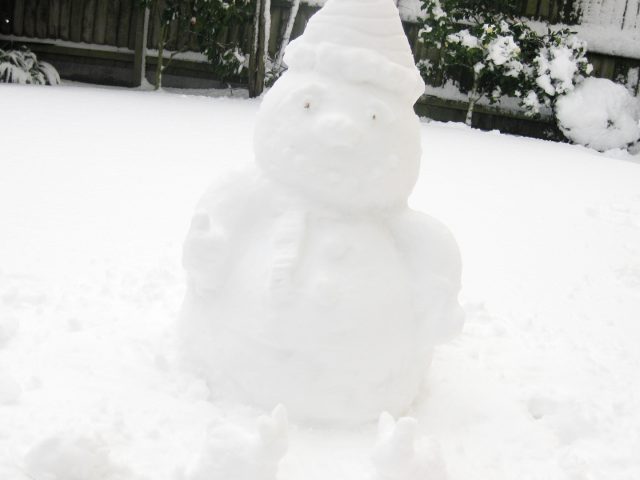
The Snow Has Arrived!
It's been many years since we've had a notable snowfall in the city: six years if memory has it right. Snow covered the city,…
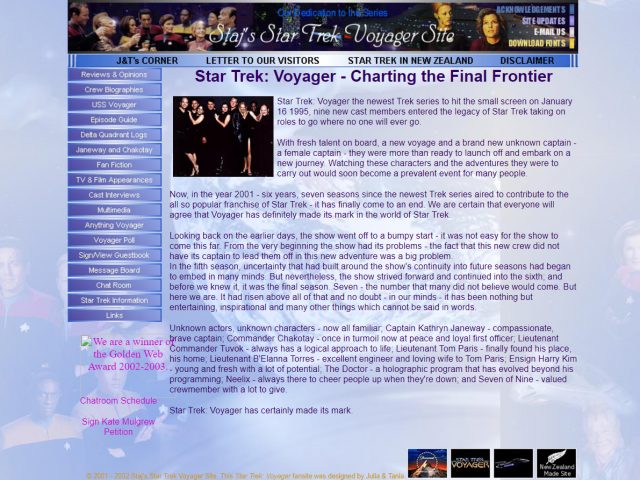
Our Staj’s Star Trek Voyager Site Lives On!!
Last night, whilst surfing the Internet, we decided to randomly type in the name of the very first site we built, Staj's Star Trek…
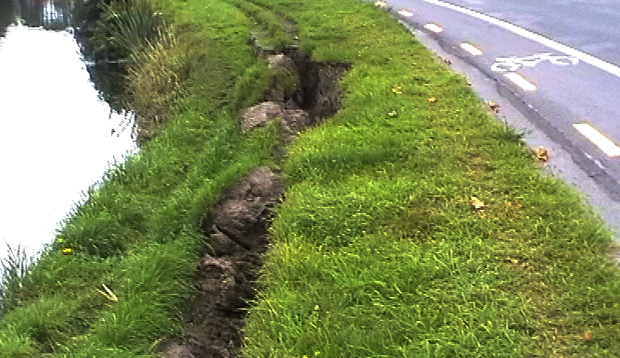
More aftershocks! And You Can’t Judge a Shake By Its Magnitude
Yesterday was a day of big aftershocks. At 1pm we were hit with a magnitude 5.6 (upgraded from initial reports of 5.5). An hour…

It’s been 10 Years Since Star Trek: Voyager!
May 25, 2011. It just occurred to us that 10 years and 2 days ago, Star Trek: Voyager aired its last episode, Endgame. Ten…
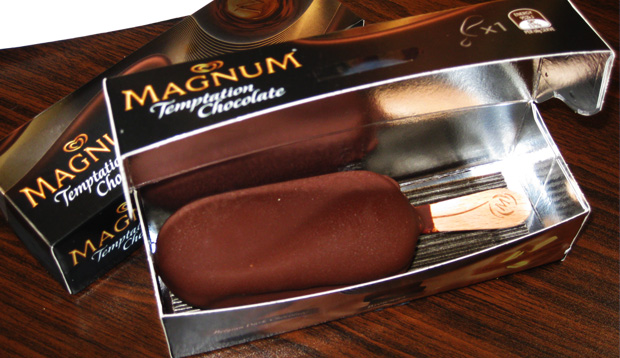
The New Magnum Ice Cream in a Box
Have you seen any ice-cream-on-a-stick get its own individual box as packaging? Not only is it housed in a box, it has a matting!…

We’re Shaking Again
Donate to the Christchurch Earthquake Appeal - Links to a Facebook page set up by the New Zealand Government with information where to donate…
What Point of View Should I Write In?
Whether it is a piece of fiction that is in concern, a blog, an article, or an essay, a question that is often asked…