

If you recall, a few weeks back we posted a blog about our decision to churn out perfect macarons as our next challenge. Well, this week, we’re back with our second installment. We thought we’d briefly write about the different types of meringues one can use to make macarons and which method we decided to go with, the environment we bake in (this is particularly important to know as every environment is different—more on this in future installments), and an equipment list. We find that although there is a lot of great information and advice out there on websites and blogs, sometimes the kind of information we really wish bakers would provide is the environment they work in when making the macarons and the kind of equipment one bakes with. So, for this second installment, we will be listing the method we use, the recipe as well as our baking environment and our equipment.
Method / Meringue Type
There are three methods to making the meringues for macarons: Italian (Sucre Cuit) meringue, French meringue and Swiss meringue, but the most common methods used are Italian and French.
With the Sucre Cuit method, it uses a cooked meringue to produce the macarons. One portion of the egg whites is incorporated into the ground almond/icing sugar mixture, and the other portion is whipped and incorporated with a hot sugar syrup. The two mixtures are then folded into each other and incorporated. With the French meringue method, the macarons are produced by whipping room temperature egg whites to stiff peaks before folding in the ground almond/icing sugar mixture. The Sucre Cuit method requires precision when handling the sugar syrup, but has a less likely chance of overmixing and less affected by environmental factors. The French Meringue method, on the other hand, you do not have to deal with precise temperatures of the sugar syrup; but has a lower success rate as it is much more susceptible to over-mixing and environmental factors.
The method we prefer to use is the French Meringue method. As our experiment is based on macarons made with the French Meringue, our findings may or may not relate to the Italian Meringue version, particularly with the information about drying time. We have read that the Italian Meringue requires little to no drying time because of the difference in method from the French Meringue.
Macaron Flavour and Size
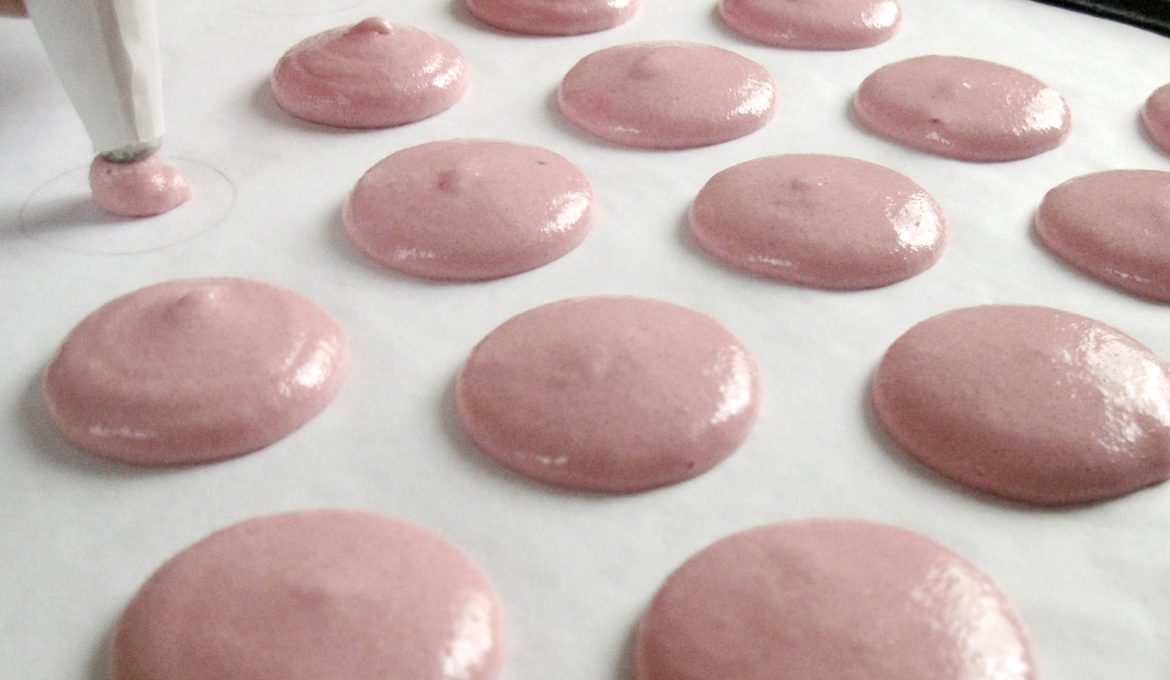
We make plain almond macaron shells that were average-sized. The piped rounds are 3.5cm in diameter on baking paper. The ingredients consists of only the four main ingredients: ground almonds, icing sugar, caster sugar and egg whites.
Baking Environment
All the baking of macarons takes place at the heart of the winter season, between the months of July through to August and into the first weeks of the spring month of September which means cold temperatures in the mid teens (measured in Celcius) and high humidity between 70% – 100%. We experienced ranging climates: clear sunny skies, rain and even snow. No air conditioning or heater was used. We did use a dehumidifier later in our quest for perfect macarons. The changing conditions of our baking environment (which at times was worse than those outdoors and other times better) was one of the factors that produced unpredictable results. We will be talking about this at length later on!
Equipment (in alphabetical order)
Baking Paper
We use Glad baking paper. We have read that using silcone baking mats such as Silpat results in lower feet, and when blunders happen the macarons are harder to remove. For the reason that we do wish to maximise our chances of getting nice height on the feet and easy removal, we have chosen baking paper. A downside of baking paper is it tends to wrinkle with heat and make the macaron disks misshapen. Silicone baking mats would be better in this area.
If you don’t have either baking paper or a silicon mat, you could try non-stick baking tray or if it’s available where you live, a non-stick macaroon baking tray. We discovered this type of tray for macaroons on our adventure upon looking for more baking equipment. We’ve never tried the non-stick macaroon baking trays, but we don’t see any reason why they wouldn’t work. Just make sure you let the macaron shells cool completely before lifting them or have a cake spatula to remove them or else they may stick. Here’s a link we found online to a macaron baking tray. Just be very careful. This is just an idea not a suggestion, so we caution you if you use non-stick baking trays or macaroon baking trays without baking paper.
Baking Sheet Type
Our ones are those we got with our oven, pretty sturdy, thick and charcoal-coloured; and not non-stick. Dark-coloured baking trays absorb heat and hence provides that much needed heat when heat is weak from below and from information we have learnt, thicker baking sheets are better than thin ones if there is strong heat coming from the bottom. Excessive heat from below may result in macarons browning at the base or tops may crack from excessive pressure from below.
Digital Electronic Scale
It is important to have accurate measurements to make macarons. Cups and mechanical scales are not accurate enough. Like they say, baking is as much an art as it is science so the right weight and composition of ingredients will get you the desired results.
Foil (one sheet)
Having a sheet of foil is dependent on if you need something to reflect some of the strong heat from a particular heat source. We placed a foil sheet over the shelf closest to the top element (this is the only element present in our oven; it is used for grilling and baking) to reflect some of the strong heat coming from it (macaron shells burned without it!). This can be applied to reflect heat coming from the bottom element, too if the bottom is the position of your element for baking. If you are finding that the bottoms of your macarons are cooking too fast/browns: place an ovenware or foil (or both) on a free shelf between the bottom element and the shelf your macarons sit on to reflect some of the heat. You will need to test and see if this is a requirement.
Electric Hand Mixer
We use a five-speed hand mixer. A lot of people use stand mixers like the KitchenAid range (a yellow, green or red one would be nice!!). If you have a stand mixer , that is good, especially for large batches!
Oven Thermometer
The macarons need to be cooked at an exact temperature. Guessing may produce bad results. We use a Salter oven themometer to measure the accuracy of our oven’s themostat. If you know your oven is accurate, then you don’t need an oven thermometer.
Oven Type
Our oven is a wall convection (fan-forced/fan-assisted) oven with only an element at the top. The fan is at the back. It has a turn dial thermostat and is not digital.
Metal / Stainless Steel Bowls
We use metal bowls to beat our egg whites. These bowls are cleaned and dried thoroughly to rid any grease residue or moisture. Grease and water interferes with foam production and tends to deflate the egg whites.
Plastic bowls are not recommended when beating egg whites. Plastic often contain oil residue on its surface from previous usage despite having it washed well. Glass bowls are okay, too, but we prefer metal bowls.
Many people have recommended using copper bowls for whipping as the reaction between copper ions that is released from the bowl and the egg whites can produce a more stable, more voluminous egg white foam. Although this may be the case (as an experiment we found online had proved), there is concern over the toxicity risk. You may wish to verify this yourself, but if memory has it right, the levels were one-tenth of our normal daily intake per cup of egg white. This is not enough to cause problems, but some books have mentioned that recommendation in the use of copper bowls ceased due to this potential of taking in too much copper in the body. If you plan to use such bowls, you might want to research more on copper bowls and double check the toxicity levels when used to beat egg whites.
Nut / Spice Grinder
We use a small nut/spice grinder. This is to process the ground almonds and icing sugar finely so the macarons have that smooth shell.
Piping Bag and 8mm – 10mm Plain Round Nozzle
We have Wilton‘s 14″ piping bag and Kaiser 9mm, 33-6, ring nozzle. We would have gotten either a Wilton piping bag and nozzle set or Kaiser piping bag and nozzle set, but the shop we went to stocked only Wilton piping bags (but no Wilton nozzles) and Kaiser nozzles (but no Kaiser piping bags). If you don’t have these, you could simply make a piping bag out of paper or a sandwich bag with a 8mm – 10mm hole cut at the corner of the paper/sandwich bag.
Pizza Stone
The pizza stone (ours is a Typhoon 40″ pizza stone) may not be necessary if you have an oven that has a bottom element and distributes heat evenly. For macarons, there needs to be heat coming from below the macarons to lift the shell and create the signature feet. With us not having a bottom element, only having the top, we have a pizza stone to hold the heat and distribute it from the bottom: it sort of acts as our “bottom element” to provide that bottom source of heat. We placed it at the lowest shelf.
We may one day take the pizza stone out to see if the oven is still good for macaron baking, but we will keep it for our future macaron-baking endeavours, just until we are confident and happy with our abilities to consistently produce successful batches of macarons. It’s like the saying goes, “Why change something when it ain’t broke?”
Room Thermometer and Hygrometer
We have found a room thermometer and hygrometer (an instrument that measures humidity) handy to measure the temperature and humidity levels in our baking environment. It is very important to know how ‘wet’ a baking environment is since, for one, macarons don’t like moisture much and it deflates it or it causes the egg whites used in the macarons to not be as stable as it can be. More about temperature and humidity later!
Sieve
We use this to sift our ground almond and icing sugar. You will need a fine sieve to do this after processing it in the nut/spice grinder. This will separate the lumps, clumps after processing the almonds and icing sugar. It will keep back big pieces of ground almonds (if there are any left) that weren’t processed and should be discarded if you want a smooth top.
Spatula
We use a silicone spatula—a flat silicone one is good.
That is all for this section. Next, we will be talking about Technique: Macaronnage!
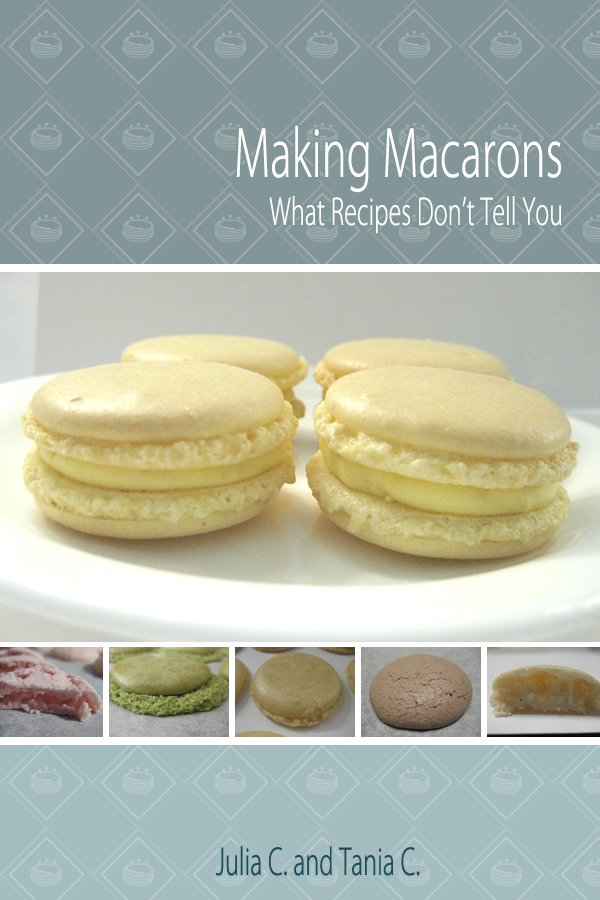
Make perfect macarons with our eBook, Making Macarons: What Recipes Don’t Tell You.
See our other posts in Macarons, Quest for Perfection blog series:
Macarons, Quest for Perfection – Technique, Macaronnage
Macarons, Quest for Perfection – Drying Time
Macarons, Quest for Perfection – Oven
Macarons, Quest for Perfection – Italian Meringue Method vs. French Meringue Method
ADVERTISEMENT


Hi I’m actually trying to find your recipe on this page but it doesn’t seem to appear anywhere?
@ Tash This was written so long ago. We’re not too sure why we put recipe in as part of the title. This post didn’t originally contain a recipe. We’ve corrected the blog post title now.
The recipe we use is from chef nini [click here]. We’ve also used other popular recipes from food bloggers like tartlettes and humble pie.
If you want to read more about our successes and failures of making macarons, we do have a book called, Making Macarons: What Recipes Don’t Tell You which we’ve linked above in the blog post.
Happy macaron making. : o) : o).