
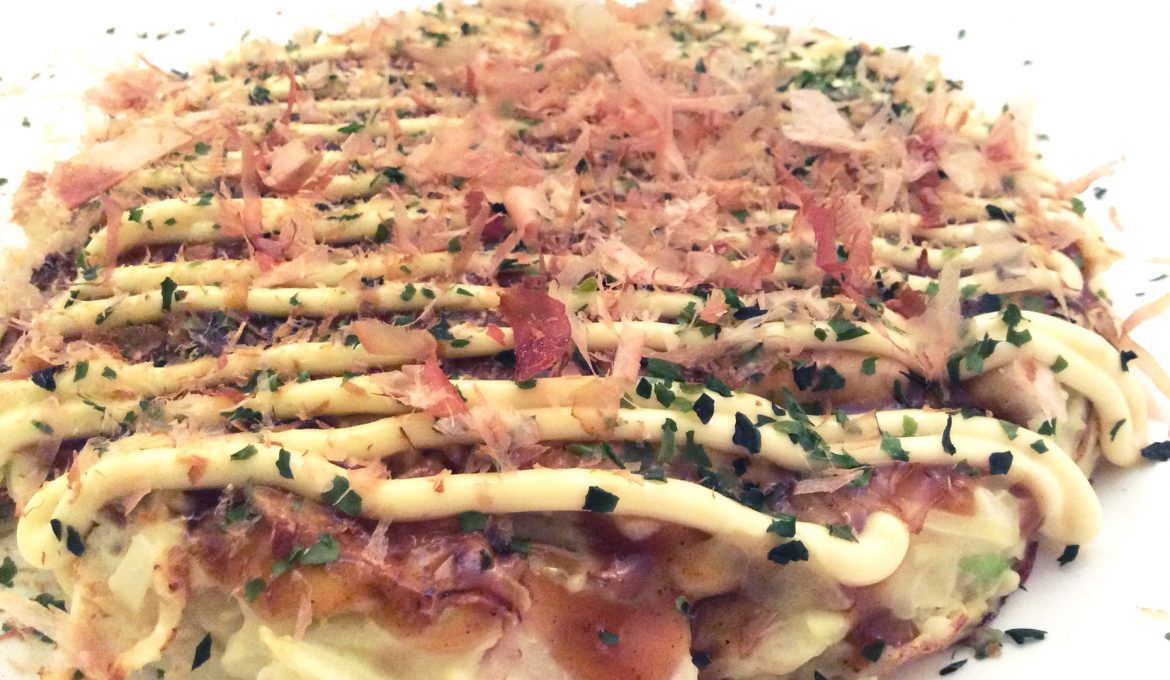
Okonomiyaki is one of our favourite Japanese foods. We love the savoury taste of this Japanese dish which is made delicious with the okonomiyaki sauce, Kewpie mayonnaise and the bonito flakes that dress the cabbage pancake. The appearance screams, “Eat me! I’m tasty!” We always look for it on the menu of a Japanese eatery.
Making a decent version of the okonomiyaki at home is something we’ve been trying to do. Using a non-stick frying pan to make okonomiyaki is doable. Making an okonomiyaki in a stainless steel frying pan is doable as well; but, it’s a lot harder with the okonomiyaki breaking apart from the batter often getting stuck to the pan.
We have managed to successfully make okonomiyaki in a stainless steel pan, though. And it’s what we always use to make our okonomiyaki. We’ll show how we make okonomiyaki in a stainless pan in this post.
The Recipe – Okonomiyaki With Chicken
The recipe we’re using is a simplified version from JustHungry with the addition of chicken:
Ingredients:
Makes 2 okonomiyaki (16 – 20 cm)
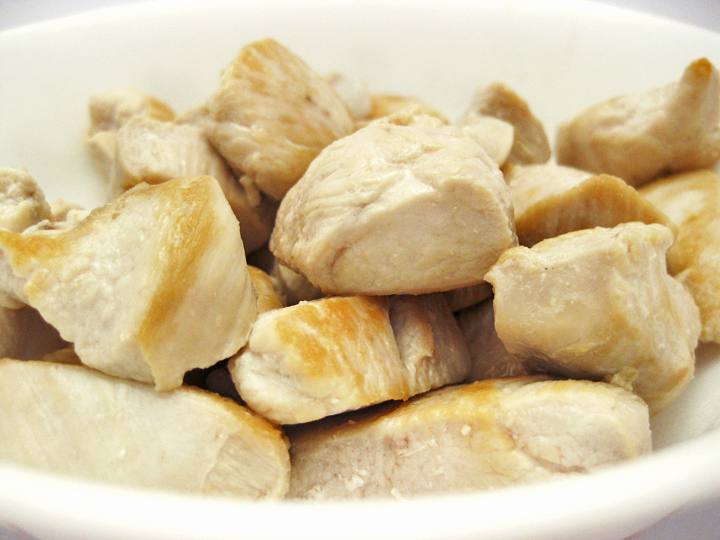
- 200 g Cooked chicken meat (2 cm cubes)
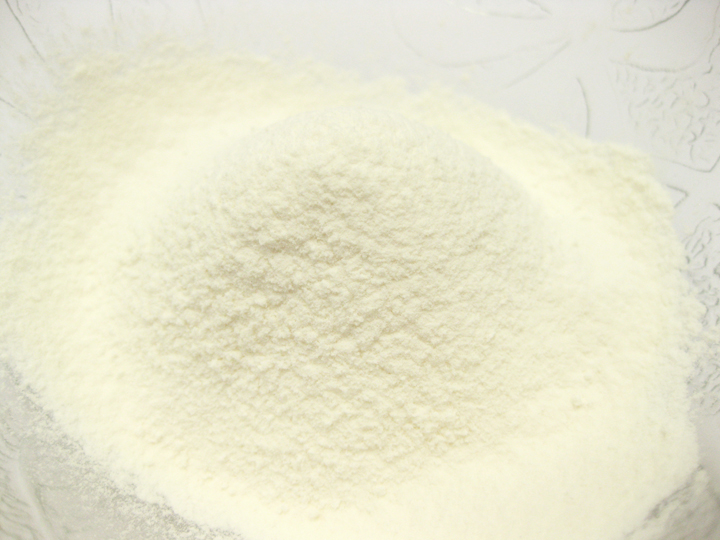
- 80 g Grated nagaimo
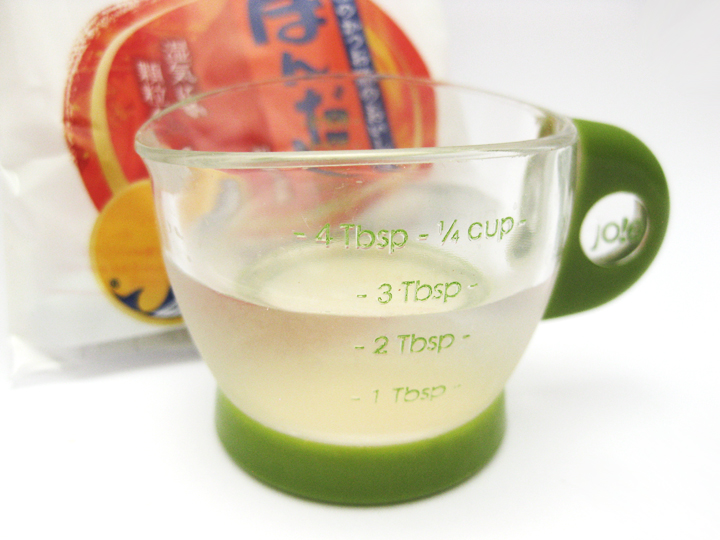
- 2 ½ T Dashi stock
- 40 g All purpose flour, sifted
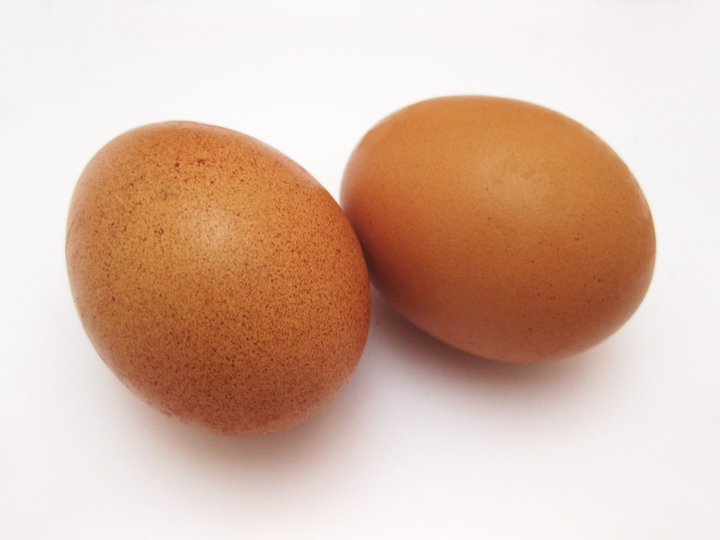
- 2 Large eggs
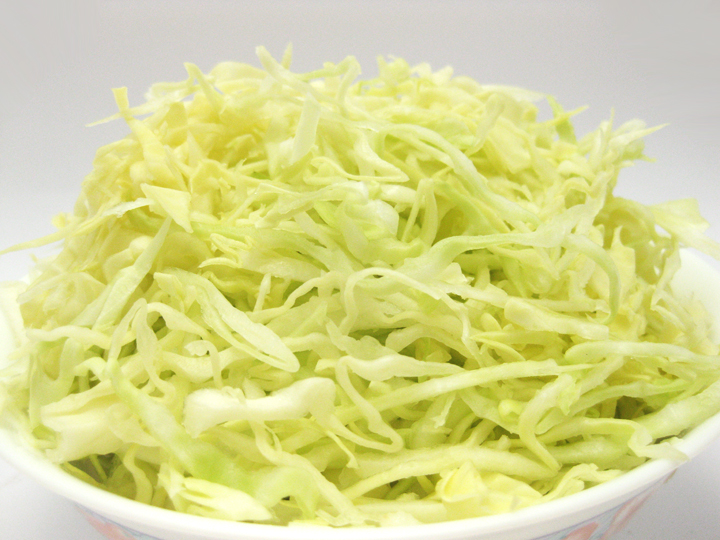
- 200 g Chopped cabbage
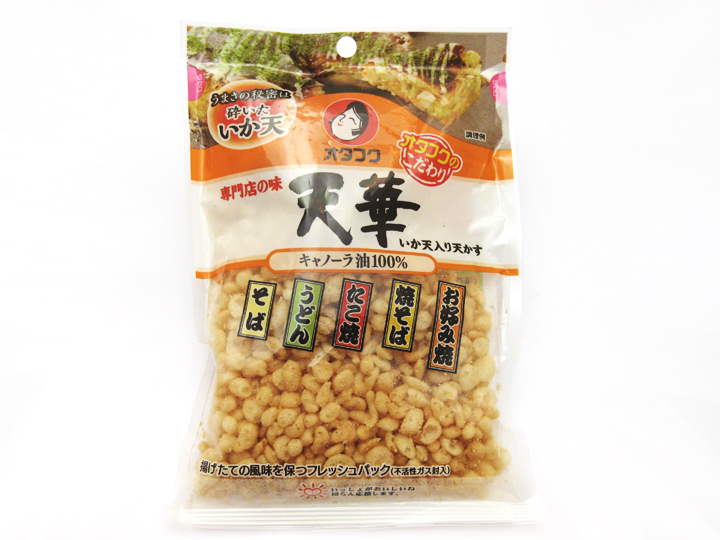
- 2 T Tenkasu, crumbed (fried batter pieces)
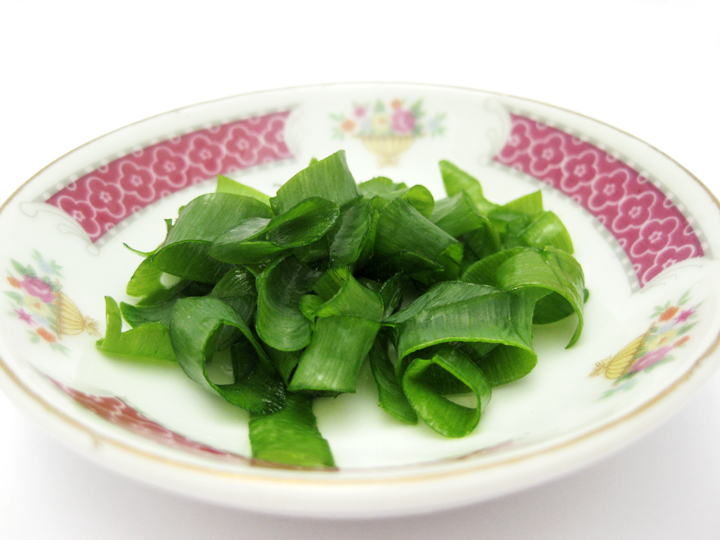
- 2 T Chopped spring onions
Toppings:
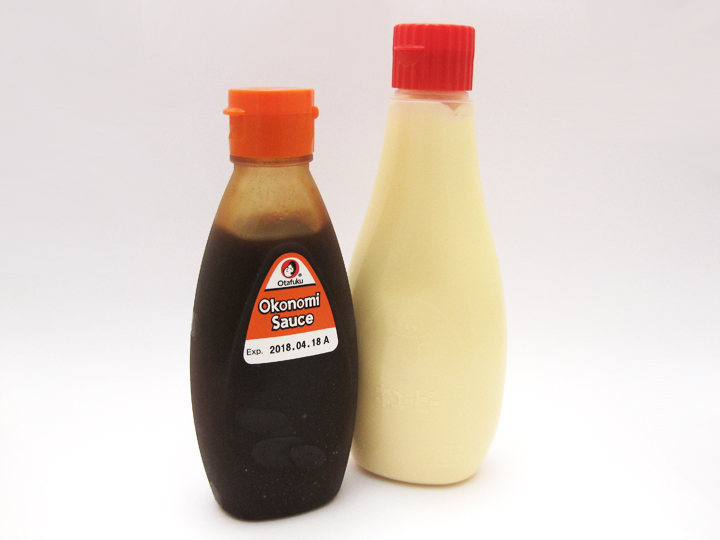
- Okonomiyaki Sauce
- Mayonnaise
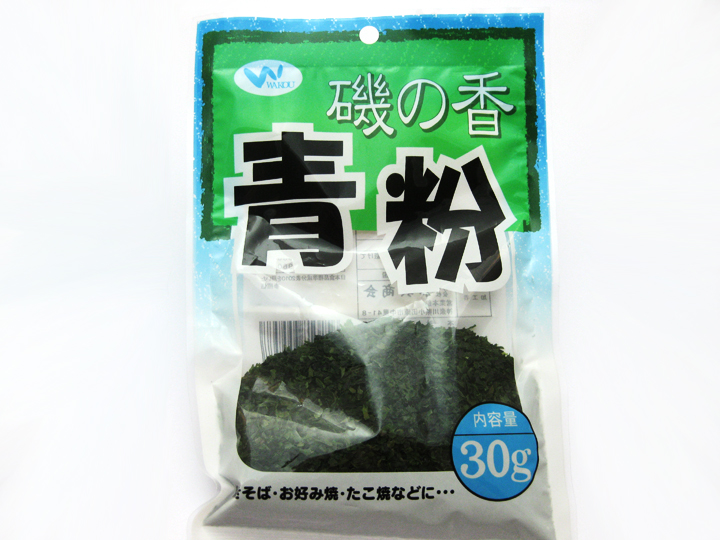
- Aonori (finely shredded seaweed)
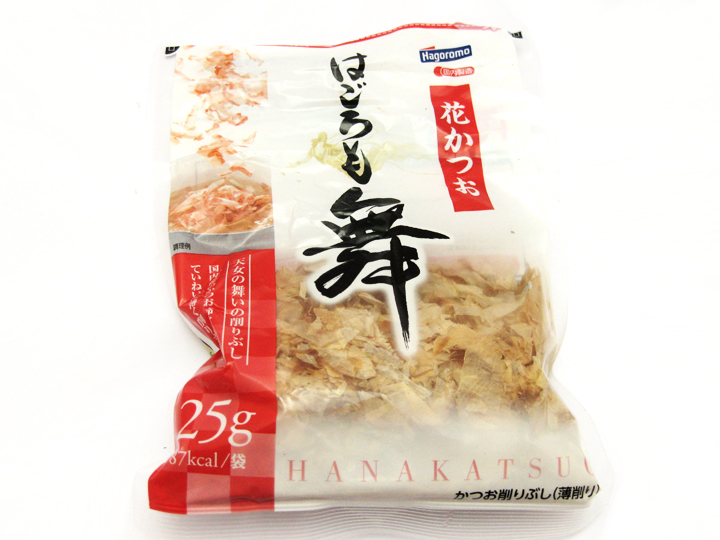
- Katsuobushi (dried bonito flakes)
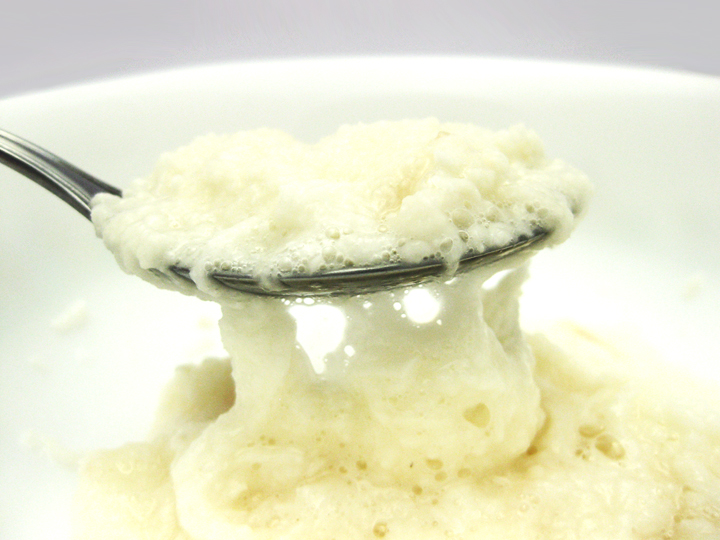
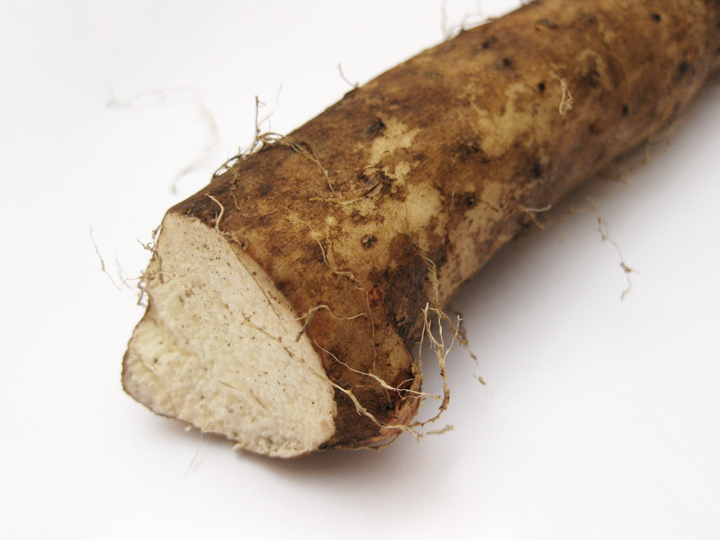
What is Nagaimo?
Nagaimo is a type of yam. When grated, it looks quite slimy, gooey and glutinous. Nagaimo isn’t always available where we live. So, what we use to substitute the ingredient is any potato we have on hand. It works quite well to keep the okonomiyaki binded. However, using potato, the texture isn’t as light. Nagaimo makes a moister texture.
Directions:
- Peel and grate nagaimo into a medium bowl.
- Mix in the dashi stock and flour. Mix in 1 egg. Combine.
- Mix in chopped cabbage.
- Mix in final egg. Combine.
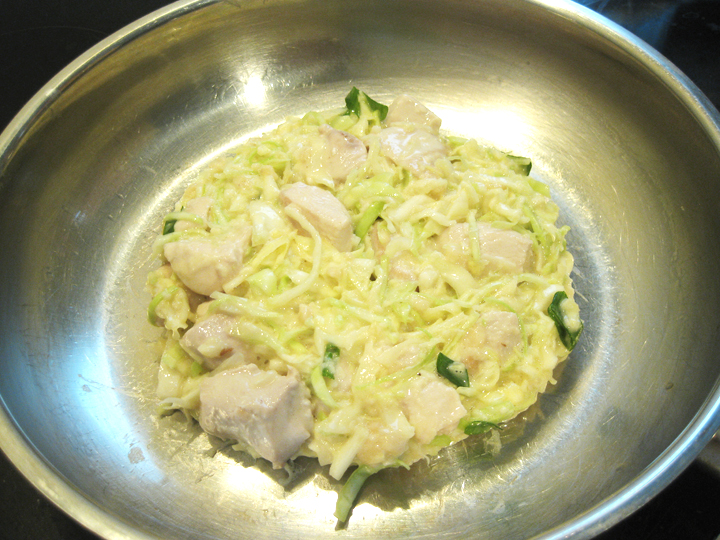
- Mix in the cooked chicken.
- Mix in tenkasu and spring onions.
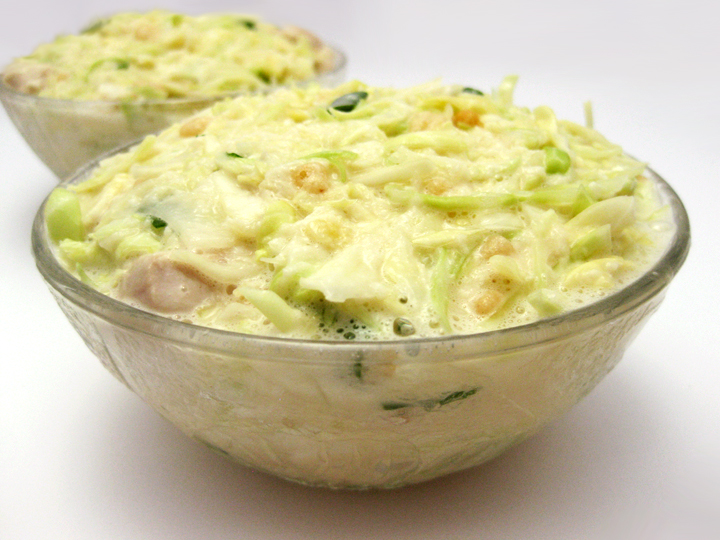
Place the batter into two small bowls and then we can begin making the okonomiyaki.
Equipment
Along with the stainless steel frying pan, we have two wok chuan to make our okonomiyaki. The wok chuan are used to turn the okonomayaki over. We’re choosing to use these is because they have a flat base and have enough of a surface area to hold, lift and flip the okonomiyaki. If you have a pair of griddle scrapers around, this would be better simply because it’s easier to handle and it’s what okonomiyaki chefs use. Or, if you’re skilled in flipping with a snap of the wrist then there’s no need for the aid of griddle scrapers or what we use.
Making the Okonomiyaki
The first thing we do before making the okonomiyaki is prepare the frying pan for cooking. After this is done, we can begin cooking the okonomiyaki.
1. Prepare the Frying Pan For Cooking
Before going into how to prepare the frying pan for cooking, the following instructions will require handling a hot frying pan and splashing water into it. So, be careful when proceeding with the instructions below.
You will need:
- Small container of water – cold water is fine. The water will be used to test when the pan is ready for oiling.
- Cooking oil
Instructions:
Place the frying pan on the stovetop element on high heat. Gauge the heat of the frying pan with hovering a hand above. When you feel it to be warm, we begin testing with water to determine when the pan is ready for oiling.
How to Test When Stainless Steel Pan Is Ready For Oiling
With a teaspoon, tip a small amount of water into the frying pan. The pan is ready when water balls dance around the frying pan surface. If the water sizzles and evaporates, the pan is not hot enough and is not ready. Continue heating up the pan and test with water until you get water balls dancing around the frying pan.
Once you get the water to dance around the frying pan, the pan then needs to be dry. A way to do this is to get the dancing balls of water to the edges of the pan and wait for it to evaporate. Or, you can use a kitchen paper towel and wipe it away. Be careful when doing this. The pan is very hot and will burn. We suggest removing the pan from the element when doing this.
Return the pan to the element that’s set to the lowest setting. Add 1 tsp oil. Spread oil evenly on the pan with a kitchen paper towel.
Wait until you see oil rippling. Turn the element off. Take the pan off the heat and rest it on a cool element to let the pan cool down for about 2 – 3 minutes.
It’s now ready for making okonomiyaki.
2. Make the Okonomiyaki
Return the pan back to the element on lowest setting.
Take one of the bowls of okonomiyaki batter and turn it onto the center of the pan. Flatten and shape to a flat circle with a cooking spatula/wok chuan/griddle scraper. We flattened the batter to a diameter of 16 cm. This is because we needed room to flip the okonomiyaki. This batter could comfortably make a 20 cm okonomiyaki if the pan could accommodate it. So, just flatten the batter out to a size that will allow you to have enough room to comfortably flip the okonomiyaki around.
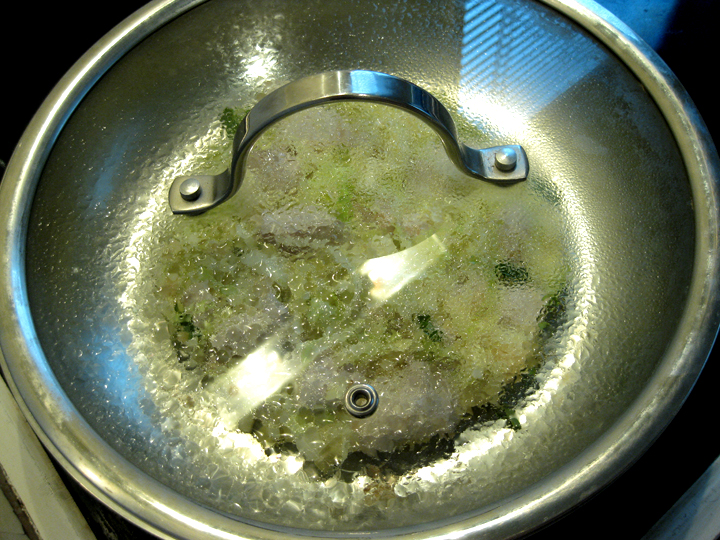
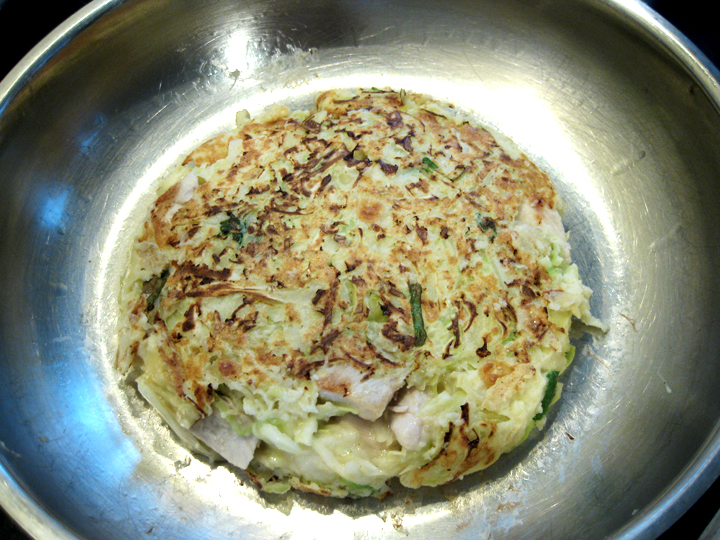
Cover with the lid and cook for 4 – 5 minutes. After 4 – 5 minutes, remove the lid and use a cooking spatula (or whatever you are using to flip the okonomiyaki) to loosen the okonomiyaki from the pan: slide your cooking utensil between the okonomiyaki and pan until you have the okonomiyaki sliding around. Now use your two flipping utensils to flip the okonomiyaki over. Return the pan back onto the element on the lowest setting and cook for another 4 minutes with the lid covering the pan.
Once the four minutes is up, the okonomiyaki is done. Transfer it to a plate and make the second okonomiyaki.
For the second okonomiyaki, the pan should be relatively clean still. So, you should be able to cook the second okonomiyaki without needing to wash it and go through the steps of preparing the pan for cooking again. You should only need to oil it. If there are considerable burnt bits on the surface where the okonomiyaki is going to be, it is best to get the pan clean and go through the steps of preparing the frying pan for cooking again before making the second okonomiyaki.
3. Decorate the Okonomiyaki and Eat!
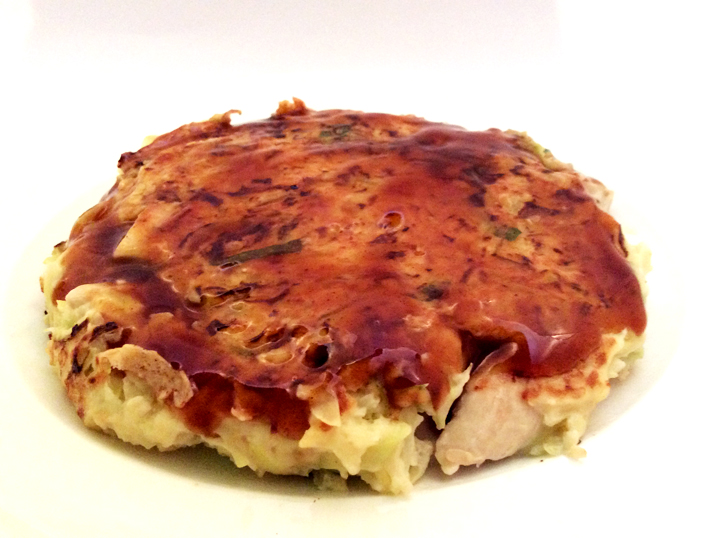
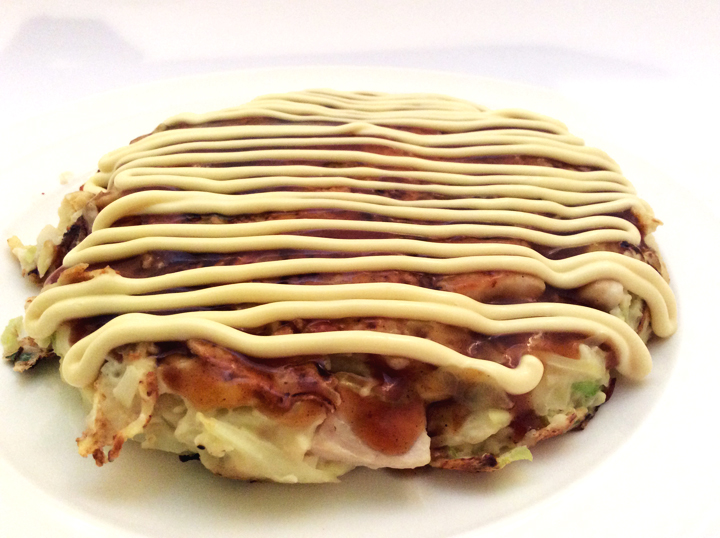
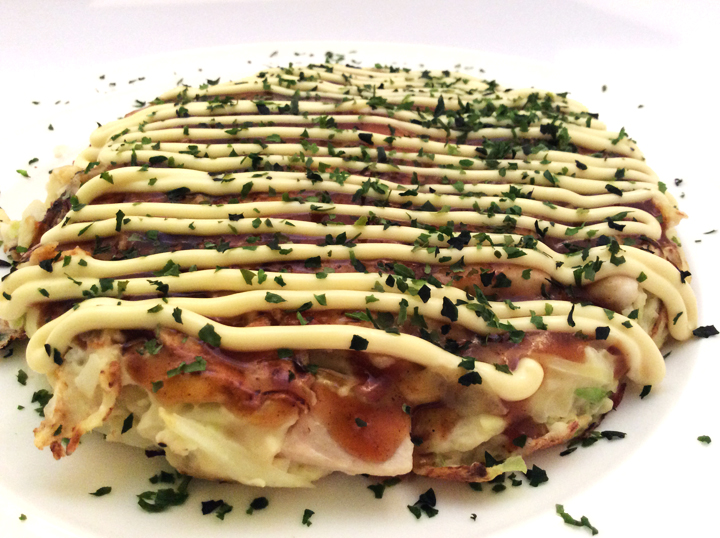
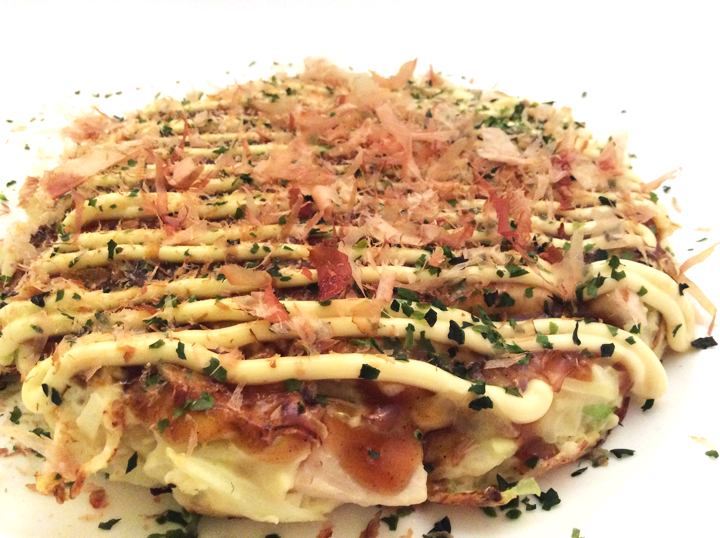
We love this part of decorating the okonomiyaki! First spread the okonomiyaki sauce over the surface; then swipe across lines of Kewpie mayonnaise; put in some aonori (finely shredded seaweed); and then the bonito flakes which you’ll see the awesome spectacle of them dancing on the okonomiyaki as you sprinkle them on!
Finally, you can eat the good-looking and delicious okonomiyaki you have just made!
ADVERTISEMENT